I am so excited! I just got my first VoxBox from Influenster! I only found about Influenster a few months ago and I love how it works. Instead of your typical subscription box, Influenster chooses you to receive a box for free. You qualify by writing reviews for products you already use and you earn points and badges and then Influenster can evaluate you to see which products you would be best at reviewing. I received an email in early December with a pre-qualifying notice and survey. I had to complete a survey about various product types and brands and wait to see if I qualified. On the 13th I received an email that I had been chosen to receive their Jolly VoxBox (Happy Birthday to me!)
I just want to reiterate that this box was totally free and I was chosen to receive it. This does not impact my review in any way and does not guarantee a positive review.
I tend to prefer unhealthy options in healthy moderation, but these Skinny Cow Chocolates are really good. They have a light peanut butter creme that are lighter in texture than a Reese's cup. You can tell they are a little healthier, but they still taste really good. Each pack has 3 chocolates inside and I've been keeping one in my purse for when I get a sweet tooth craving.
I haven't tried the NYC eyeshadows before, but I do like the colors in this palette. The swatches to the left are done with no primer and just a swipe of my finger. There isn't huge color payoff, but it is better than some other drugstore brands. I think it could really benefit from a primer underneath it. I do wish the medium brown shade was a little darker, but these shades could be good for a very natural look.
I love that this tape is called a Duckling. It's so cute and small! Every time I need Duck Tape I don't have any and when I have it I don't need it. This actually came in handy for sealing up some Christmas boxes that were shipped out. I like that it has the strength of Duck Tape without the size. The tape itself is skinnier and the roll is nice and small, it's very convenient.
I was wondering what I was going to do to test out the Puffs Plus Lotion tissues and then Santa brought me a head cold for Christmas. So needless to say I have been using these and they are wonderfully soft. Often times I will just grab some toilet paper to blow my nose, but with the cold weather and constant sniffling, under my nose is a bit chapped and these feel much better.
Okay so I know this isn't the best picture, but I was running out of the house for work and wanted to try this out. This is the Rimmel Show Off Lip Lacquer in Aurora. I love the name because Aurora is my favorite Disney princess. The photos on the left are with flash and the ones on the right are without. It's sort of a deep watermelon color. It goes on very smoothly and is not sticky or drying. I really loved the texture and it had great pigmentation and held up well. My only complaint is that I kept finding it on my teeth, even before eating or drinking anything. Other than that I really did like this lip lacquer. Just know that it is a lip lacquer, not a lip gloss and therefore it is a whole different type of product. I saw a lot of people reviewing this as a gloss. This is great if you want an easy lip product that will hold up well throughout the day. My lips felt very soft while I had it on.
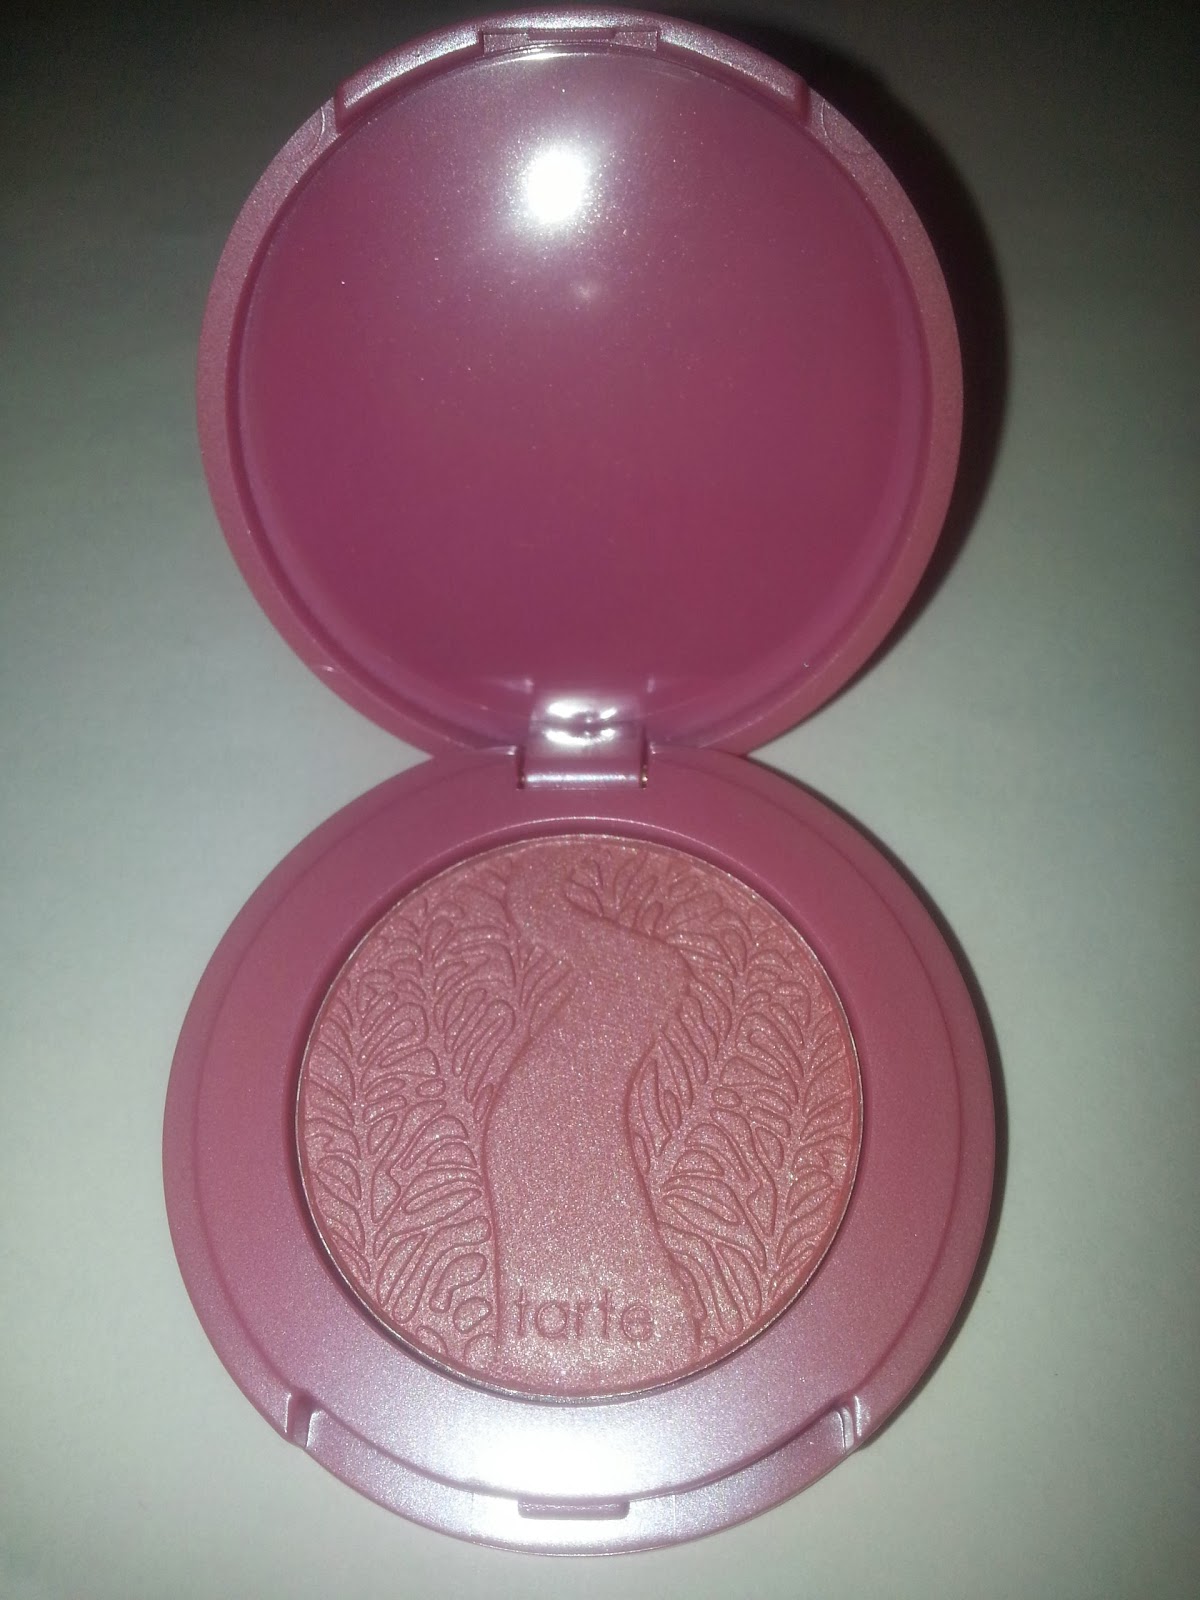
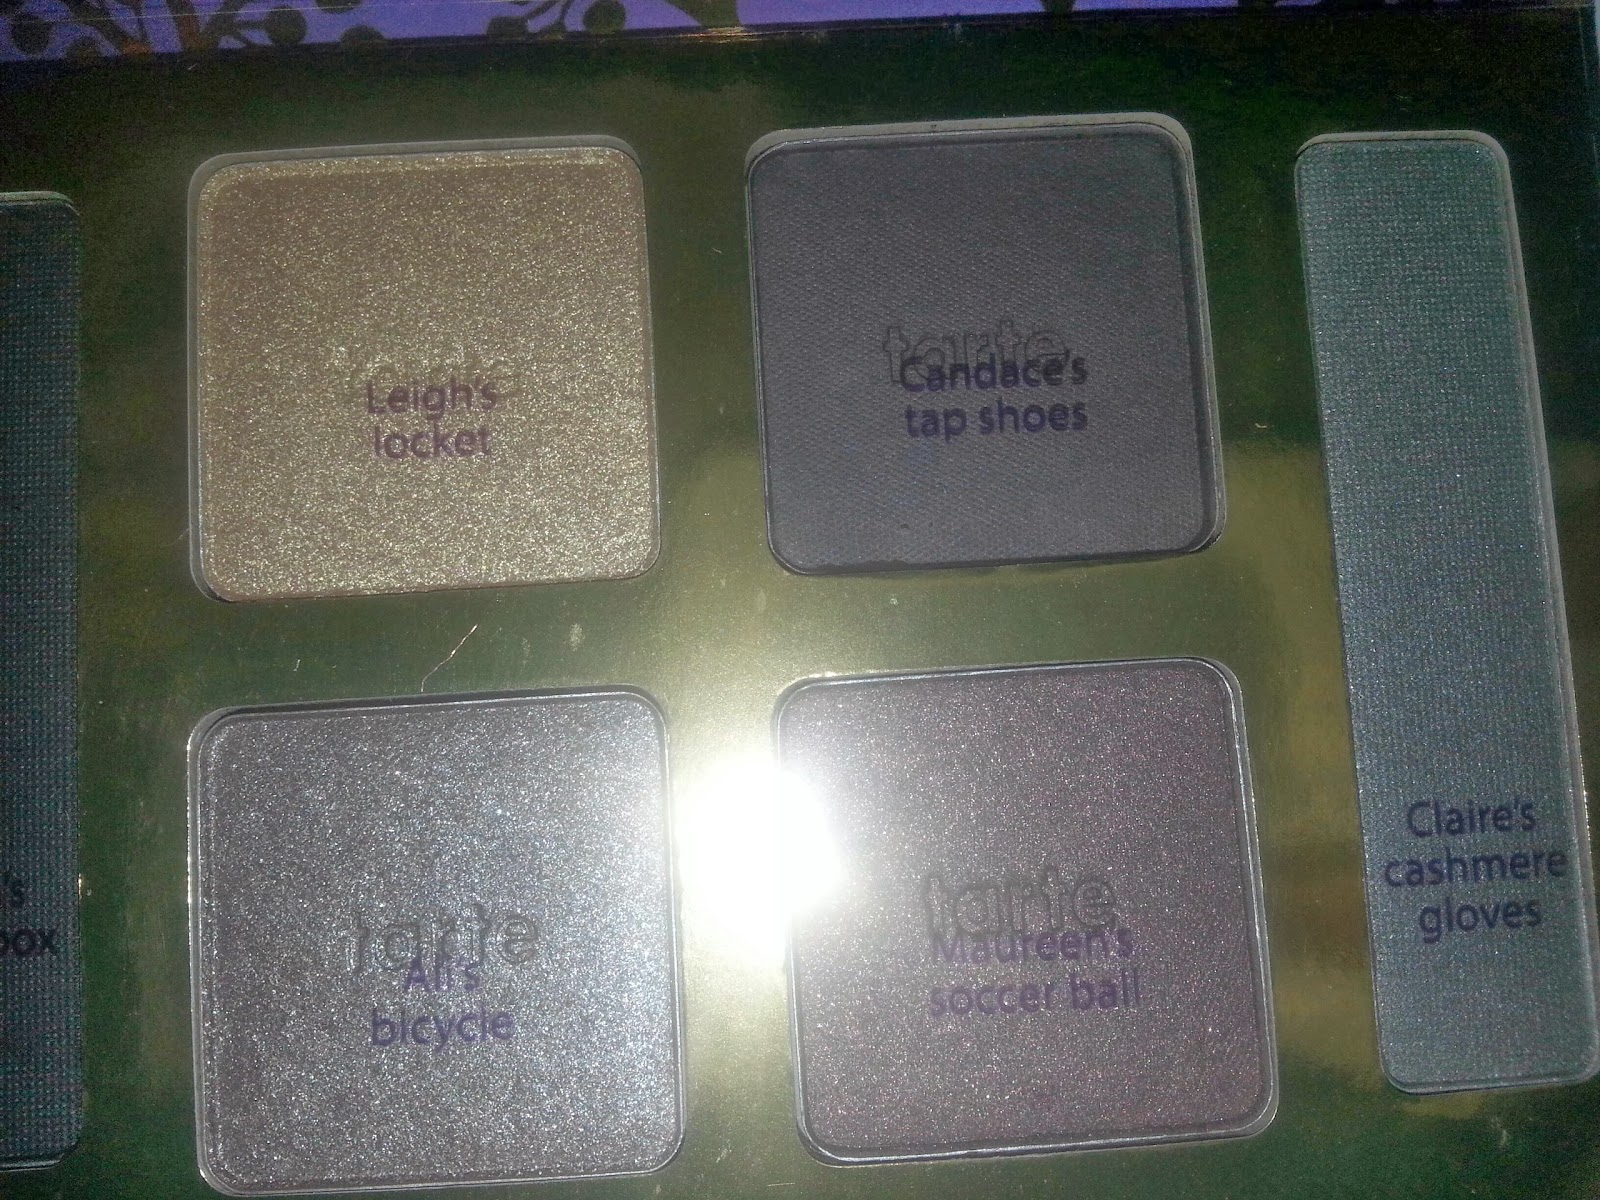
My Tarte of Giving gift set finally came in! I am so excited! This set was a crazy good deal, $490 value for $59. You can find it at Sephora, but I don't know how long it will be available because it's flying of the shelf. Check out the photos below, I'll be reviewing them more completely soon! Happy Holidays cupcakes!
I had been debating on waiting to get this amazing advent calendar by Benefit, maybe I could get a few more gift cards or it would go on sale. Not the case. I decided I had to have it and I'm so glad I ordered it when I did. The day after I placed my order it sold out on Sephora.com (it's also web exclusive so I wouldn't have been able to find it in store.)
I had heard Ulta.com and Macys.com still had it, but as of this morning, they are also sold out.
Seems that the Benefit website is the only place to find it right now, so hurry! I'm sure they're going to sell out too!
(Currently someone is selling theirs for $189.99 on Amazon! and I found some pricier ones on eBay!)
I can't wait to get mine and I'll be posting pictures daily!
Here's some sneak peaks from the Benefit website.
Benefit.com: Enjoy FREE US Standard Shipping on ANY purchase using code
HOLIDAZE.
Not combinable with any other promotions. Offer valid
through 12/23/13.
So EXCITED about these! I have been stalking every Sephora store in the area trying to find this set. A big thank you to Melinda at Sephora in N. Dartmouth for helping me find these! I only recently got turned onto the OCC Lip Tars and this is a nice mini set to try out a few and the colors are great picks. You can use them as they are or blend them into custom shades.
From left to right: Memento, NSFW, Anime, and Black Dahlia.
Left is a full sized OCC Lip Tar in Strumpet, right is All Star Mini in Anime
Sorry these swatches are so messy, Top to bottom: Memento, NSFW, Anime, Black Dahlia.
I am super impressed with these for both color and texture. You also only need the absolute tiniest amount. Picture how much you need and it's probably 1/5 of that. I can't wait to play with these more!
Have you tried the OCC Lip Tars? What's your favorite or which would you love to try?
Hey everyone. Today I want to talk about a local small business that you
have to check out. Tis the season for wreaths, so look no further than
Go See Go Wreath Co. Fawn is a very crafty friend of mine and a huge
supporter of local artisans, she's the creative mind behind Go See Go
Wreath Co and mother to one adorably chubby baby boy. I sat down with
her to see how she does it.
How did you get started making wreaths?
Honestly - it started when I
was cooped up at the end of my pregnancy. It was the late summer, hot,
and I was pregnant for a 9lb+ child. I had a lot of time to read and
study and a lot of creative "joneses" to get out of my system. I kept
seeing beautiful wreaths everywhere in my travels as well as online and
just KNEW I could do something similar with my own twists and turns to
make them completely unique and out of the box. I read anything and
everything I could; from basic wreath design info to floral design &
embellishment techniques. I made one simple wreath without many frills
once I settled into a flow with my new family and I was instantly
hooked. With each one I try new things, as well as try to push the
envelope. I love it!
Where do you get your inspiration from?
Everywhere
and everything. Vintage fabrics. Time periods. Music. Color
combinations/color theory. Personalities. Movies. Interior design (I
love matching a wreath to a room!). Certain embellishments that I see
out. I'll buy one little piece of ornamentation or a really cool silk
flower and that's it, I'm off like someone dropped the starting gate. Of
course the magic of the holidays always sweeps me off my feet too, I
love pretty much every holiday there is!
What sizes do they come in and what's the cost?
I
can do everything from teensie tiny six inch mini wreaths all the way
to 24" in certain circumstances. In most cases I price based on size and
detail. The one I sell the most of is my 16 inch size, and for a basic
design I usually charge around $35. I also do yarn wrapped wooden letters that start at $15.
Is there anything you can't do?
In
my opinon, no! I'm always up to do something new and exciting when it
comes to design. Where there's a will, there's a way! Right now I'm
looking for someone interested in having me create something that can
light up! I have several other new ideas as well that I'm dying to do,
such as a "wreath chandelier!" A nice, modern piece of art to hang from
your celing instead of your door! Where can people get your wreaths and how can they get in touch with you for a custom order? You can find and message me on facebook at www.facebook.com/goseegowreathco (where you can see great examples of my work - including custom pieces and ones that have been sold), on etsy at www.etsy.com/shop/goseegowreathco or you can send an email to goseegowreathco@gmail.com
I asked Fawn to make an ivory, gold, and burgundy creation for my mom
and everyone has been wowed. It's elegant and beautiful (like my mom)
and it's very much my mom's style. As soon as she received it, my mother
removed what she had on the door and promptly hung up her new wreath.
Make sure to check out Fawn's Etsy shop as well as her Facebook page
where she updates with new available wreaths as well as past creations.
Don't see what you're looking for, don't hesitate to get in touch for a
custom order! You will be pleasantly surprised!
Hey
everyone. So sorry I haven't blogged much recently, I've been working
60-70 hour weeks and got really sick because of it. This post is long
overdue because of it, so again I apologize. Anyway, here they are,
glitter ornaments that make lovely party favors (which is what I did
with them) or even surprise gift wrap. Either way they make for
pretty little things that will amuse friends and guests. I apologize in
advance, this was my first ever tutorial so the camera work is not
great. I'm hoping to get a tripod before I film my next one. I'm not
going to pretend I've ever done this type of project before, but I
wanted to experiment and figured someone had to try to do this. I wanted
people to see the whole process, blunders and all. Here we go! Instructions are under the video.
Supplies:
Fillable acrylic ornaments (I used 70mm and liked that size, but you can use whatever you like.)
Masking tape or scotch tape
Spray paint made for use on plastic (I used Rustoleum Painter's Touch Ultra Cover)
Spray
glue for glitter (didn't know they made it until I went looking for it.
If you wanted to you could use a craft glue and paint it on each one
individually, but it will take a lot longer.) (I used Design Master Glue
for Glitter invisible adhesive)
A clear spray sealant (I used Patricia Nimock's Clear Acrylic Sealer)
Fine glitter (I used Nicole Crafts Ultra Fine Premium Glitter in Iridescent Silver)
Plastic
sheeting or something similar to cover your workspace (I used a
surgical drape because I was in the office and some of them got stuck to
it at one point, not good)
Thin ribbon of choice to string through
A mask to wear while spray painting
Make sure to work in a well ventilated area.
Open
a window and get a fan going if you can. It's no good to breathe in any
of the fumes from the spray paints. I mention working with kids in the
video, only have them help you during parts when no spray paints are
being used and once any fumes have cleared away. During the glitter
step, it would be best to only have children help if you are using a
paint on glue. Otherwise have them help with other tasks.
Lets get started!
Lay down protective sheeting or whatever you are using to cover your workspace.
Next star unwrapping those ornaments. Mine came individually wrapped so this could take a little while.
Start
laying down the ornaments onto your working space and try to keep your
halves together as it will make matching them up later a but easier.
Next
(or while unwrapping) you'll want to take a small piece of tape and
wrap the loop at the top of each half, this will help to prevent it from
getting clogged by paint and glitter, making it easier to string a
ribbon through later.
If you are making a lot of ornaments, it may be easier to do them in batches on more than one work space.
Lay
down a thin layer of your spray paint, you can go in with a second
layer if you like later. If you are using the glitter (which, why
wouldn't you? It's beautiful) you don't need much of the spray paint,
just enough to give it a little background color and opacity. If you
decide to keep a few just spray painted or want to do designs or
splashes of glitter, go in for a second, more thorough coat.
Allow this to dry.
Next
apply a fairly liberal amount of the spray adhesive, do only a few
ornaments at a time, something I realized a little late, you'll get a
better result. Have your glitter ready and liberally pour it on to the
wet ornaments. Keep repeating until they are covered. Allow them to dry
again.
Shake
off the excess glitter and move the ornaments to a second space if you
have one, or at least off of the first workspace so you can collect the
leftover glitter. I managed to gather up a lot of mine and bottled it
back up.
Check
your ornaments, some might already be just the way you want them, if
not, take them one at a time and apply a small amount of spray adhesive
(too much and they might look blotchy and chunky, not gorgeous) and
again liberally apply glitter.
Once they have dried completely from this step as well, again shake off the loose glitter.
Clean
off your work surface and one by one liberally spray the ornaments with
the sealer. You want to ensure a good even coat with this step, because
it will ensure that more glitter stays on your ornament than on your
guests (or your floor.)
Allow these to dry completely. Be patient. I know it's a lot of drying steps.
Remove the tape from the loops at the top
Once
these lovely, glittering orbs have dried, match them up with their
mate, if a little, or a lot, of glitter has made it's way into the seam,
just twist them side to side as you connect them and it should loosen
them up.
Once matched up use small lengths of ribbon to string them together, I choose to make bows, but do it however you like.
Now
you can place small gifts, raffle tickets, etc. inside to surprise your
guests. You might even be able to do a Yankee Swapper like this.
It's a fun little party favor that guests will remember.
As you may have already noticed, there's a chill in the air and the stores are changing their music. For those who don't know, I work part time at Victoria's Secret, which means I've already started hearing my fair share of holiday music. They were already starting it at the end of October. I love the holidays, but this is a bit much. I was walking by Nordstrom the other night and they had a sign in their window stating that they were going to be saving their holiday windows until December because they like celebrating one holiday at a time, I agree. On the other hand, I'm one of those freaks of nature who has their holiday shopping done by Black Friday. I love decorating my house, it's fairly simple, but pretty. This year I want to put my tree up on Black Friday (after I get out of work that is), it's something that my father used to do years ago. This is the first year that my family will be here from around the world, so I'd like to get started early so that it's perfect.
At my full time job, I've been in holiday mode since September. I manage all the marketing so everything is way ahead. There we will most likely be putting up our tree next week. We're making some party favors with a little surprise inside! Hopefully I will have a DIY post up this week showing you how to make them.
Do you love the holidays or are you a grinch (like my mom)? How early do you get started?


 I haven't tried the NYC eyeshadows before, but I do like the colors in this palette. The swatches to the left are done with no primer and just a swipe of my finger. There isn't huge color payoff, but it is better than some other drugstore brands. I think it could really benefit from a primer underneath it. I do wish the medium brown shade was a little darker, but these shades could be good for a very natural look.
  I love that this tape is called a Duckling. It's so cute and small! Every time I need Duck Tape I don't have any and when I have it I don't need it. This actually came in handy for sealing up some Christmas boxes that were shipped out. I like that it has the strength of Duck Tape without the size. The tape itself is skinnier and the roll is nice and small, it's very convenient.
  I was wondering what I was going to do to test out the Puffs Plus Lotion tissues and then Santa brought me a head cold for Christmas. So needless to say I have been using these and they are wonderfully soft. Often times I will just grab some toilet paper to blow my nose, but with the cold weather and constant sniffling, under my nose is a bit chapped and these feel much better.


